
🌟 Part1: Preparation for building a website
Step 1: Purchase your website foundation.VPS Recommendations:
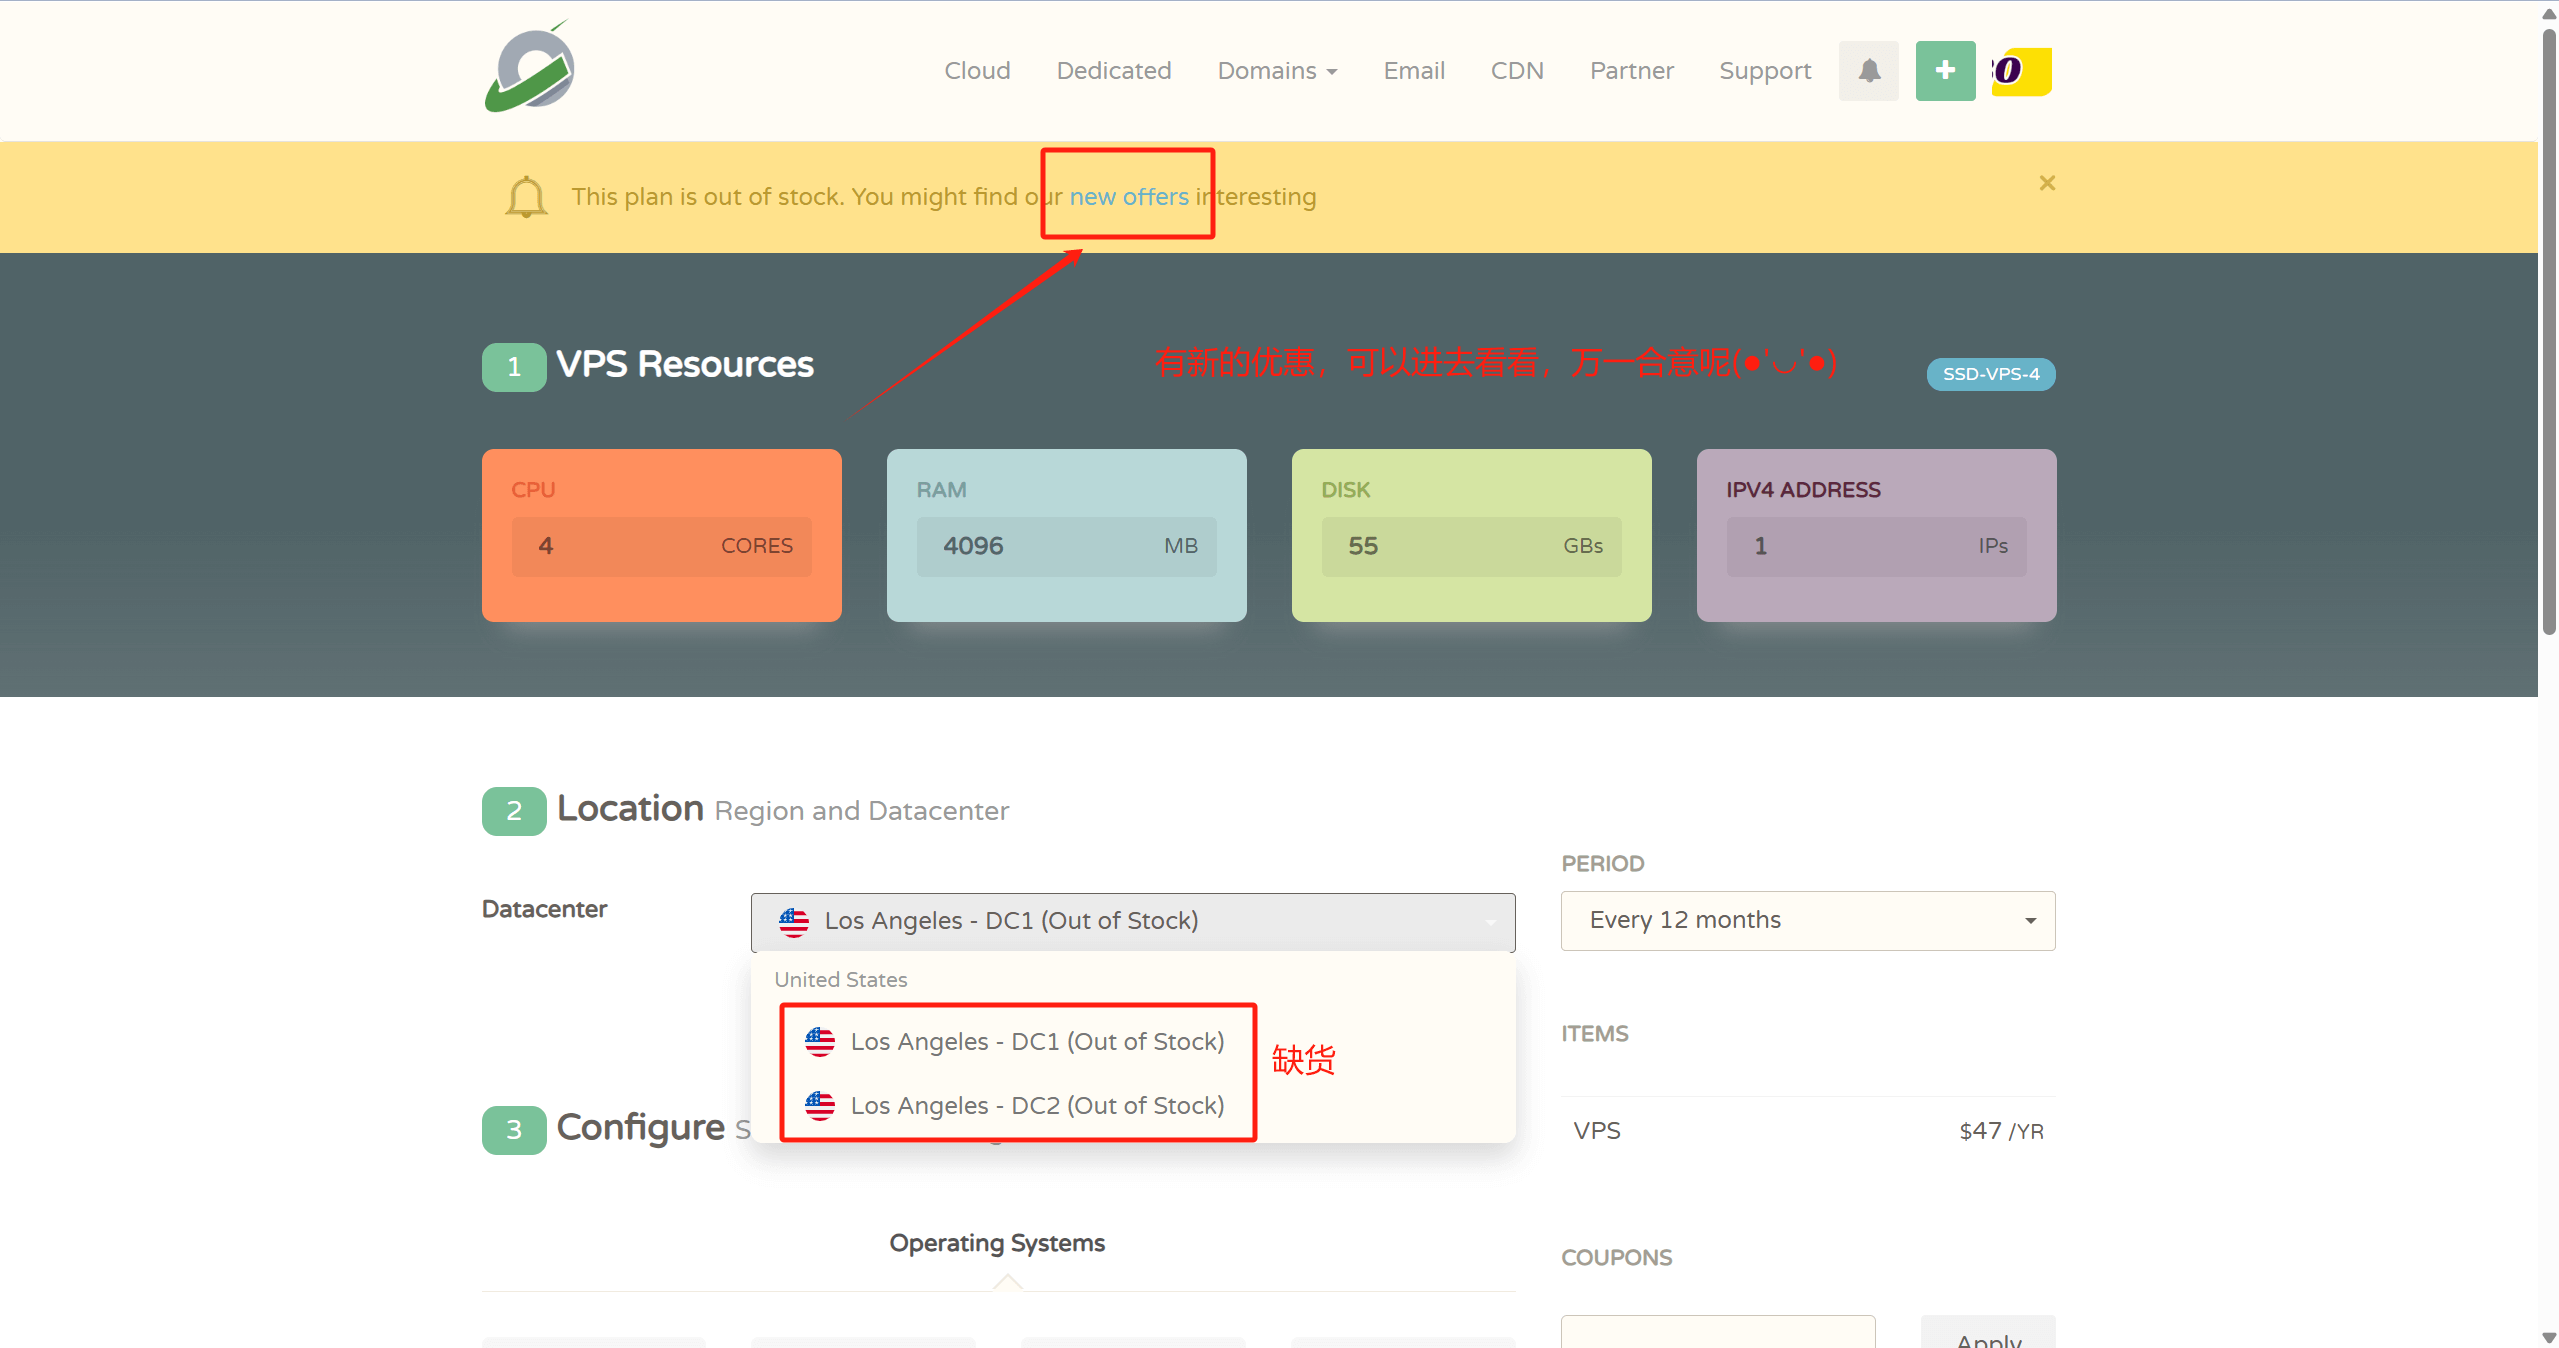
- 👉CloudCone official website: www.cloudcone.com👈(性价比较高,支持支付宝,CPU用的是Intel E5处理器,硬盘用的是SSD固态,运行网站完全够用。)
注意:如果有Visa信用卡或者PayPal的也可选择HostingerorContabo。性价比更高,一是处理器比较新,是近年刚推出的AMD EPYC 处理器,算力强;二是硬盘用的是NVMe SSD 硬盘,读写速度更快;三是售后相应快。缺点就是需要Visa信用卡或者PayPal支付,也可以去某宝花点钱让人代付。

- 👉Hostinger official website:www.hostinger.com((Enter from here for an additional 20% discount) 👈
♥️ Benefits::The world's top 3 cloud server providers, the strength of the self is needless to say, let a person at first glance is such a price can also use the high performance of theAMD EPYC processorsThere are also more powerful read/write speedsNVMe SSD memoryIt makes web pages load faster, and the overall performance is definitely the strongest king in its price range!
♥️ Cons: onlySupport Visa credit card payment and Paypal payment
♥️ build process refer to this article:hostinger website tutorialThe
Step 2: Give your website a great name!Namesilo Official WebsiteRegistration Tutorial:
✅ Search for your preferred domain name
✅ Remember to check WHOIS Privacy Protection when adding to cart
✅ Paypal payment is super convenient!"
💻 Part 2: Hands-On Operations (15 minutes)
Step 3: Let the domain find your server!CloudflareParsing the whole process:
1️⃣ Add Site
2️⃣ Modify Domain Name Server Nameserver
3️⃣ Create an A record pointing to the IP of the VPS
💡 Tip: Turn on CDN acceleration for free!"
Step 4: Arm your toolbox!
🔥 List of must-have artifacts:
- Xshell(SSH connection)
- Pagoda Panel(visualization operation)
- Performance tuning script code:
curl -sS -O https://raw.githubusercontent.com/kejilion/sh/main/kejilion.sh && chmod +x kejilion.sh && . /kejilion.shStep 5: The system tunes for a four-in-a-row!
① System update:
sudo apt-get update && sudo apt-get upgrade -y② Virtual memory settings, run the fourth step of the tuning script code, select 13 → 12

③ BBR3 acceleration is on, run the fourth step of tuning script code, select 13→16

④ Security protection, install fail2ban, run the fourth step of tuning script code, select 13 → 22

🎯 Part 3: Building a Website Tutorial Ultimate Goal Reached (10 minutes)
Step 6: Visualize the artifact debut! Install the following pagoda panel command, or go toPagoda Official Websitemake a copy of
wget -O install_panel.sh https://download.bt.cn/install/install_panel.sh && sudo bash install_panel.sh ed8484becRemember to save the panel address/account password after installation!"
Step 7: Install wordpress, import the theme, the site is finally finished!
"Final Sprint! Three Minute WordPress Deployment:
1️⃣ Pagoda Create Website + Database
2️⃣ Download wordpressInstall the package and upload it to the web root directory
3️⃣ Classic 5-minute installation process
💥 A time to witness a miracle! Your website is born!"
🎉 Congratulations on becoming a webmaster! Follow up wanting to learn:
✅ Website Theme Landscaping
✅ SEO Optimization Tips
✅ Traffic Realization Methods
👉Thousands of Likes!Immediate arrangements!


Comments (1)
怎么看vps的IP地址呀?