
🌟 Part 1: Website Preparation
Step 1: Buy Your Website Foundation! VPS Recommendations:
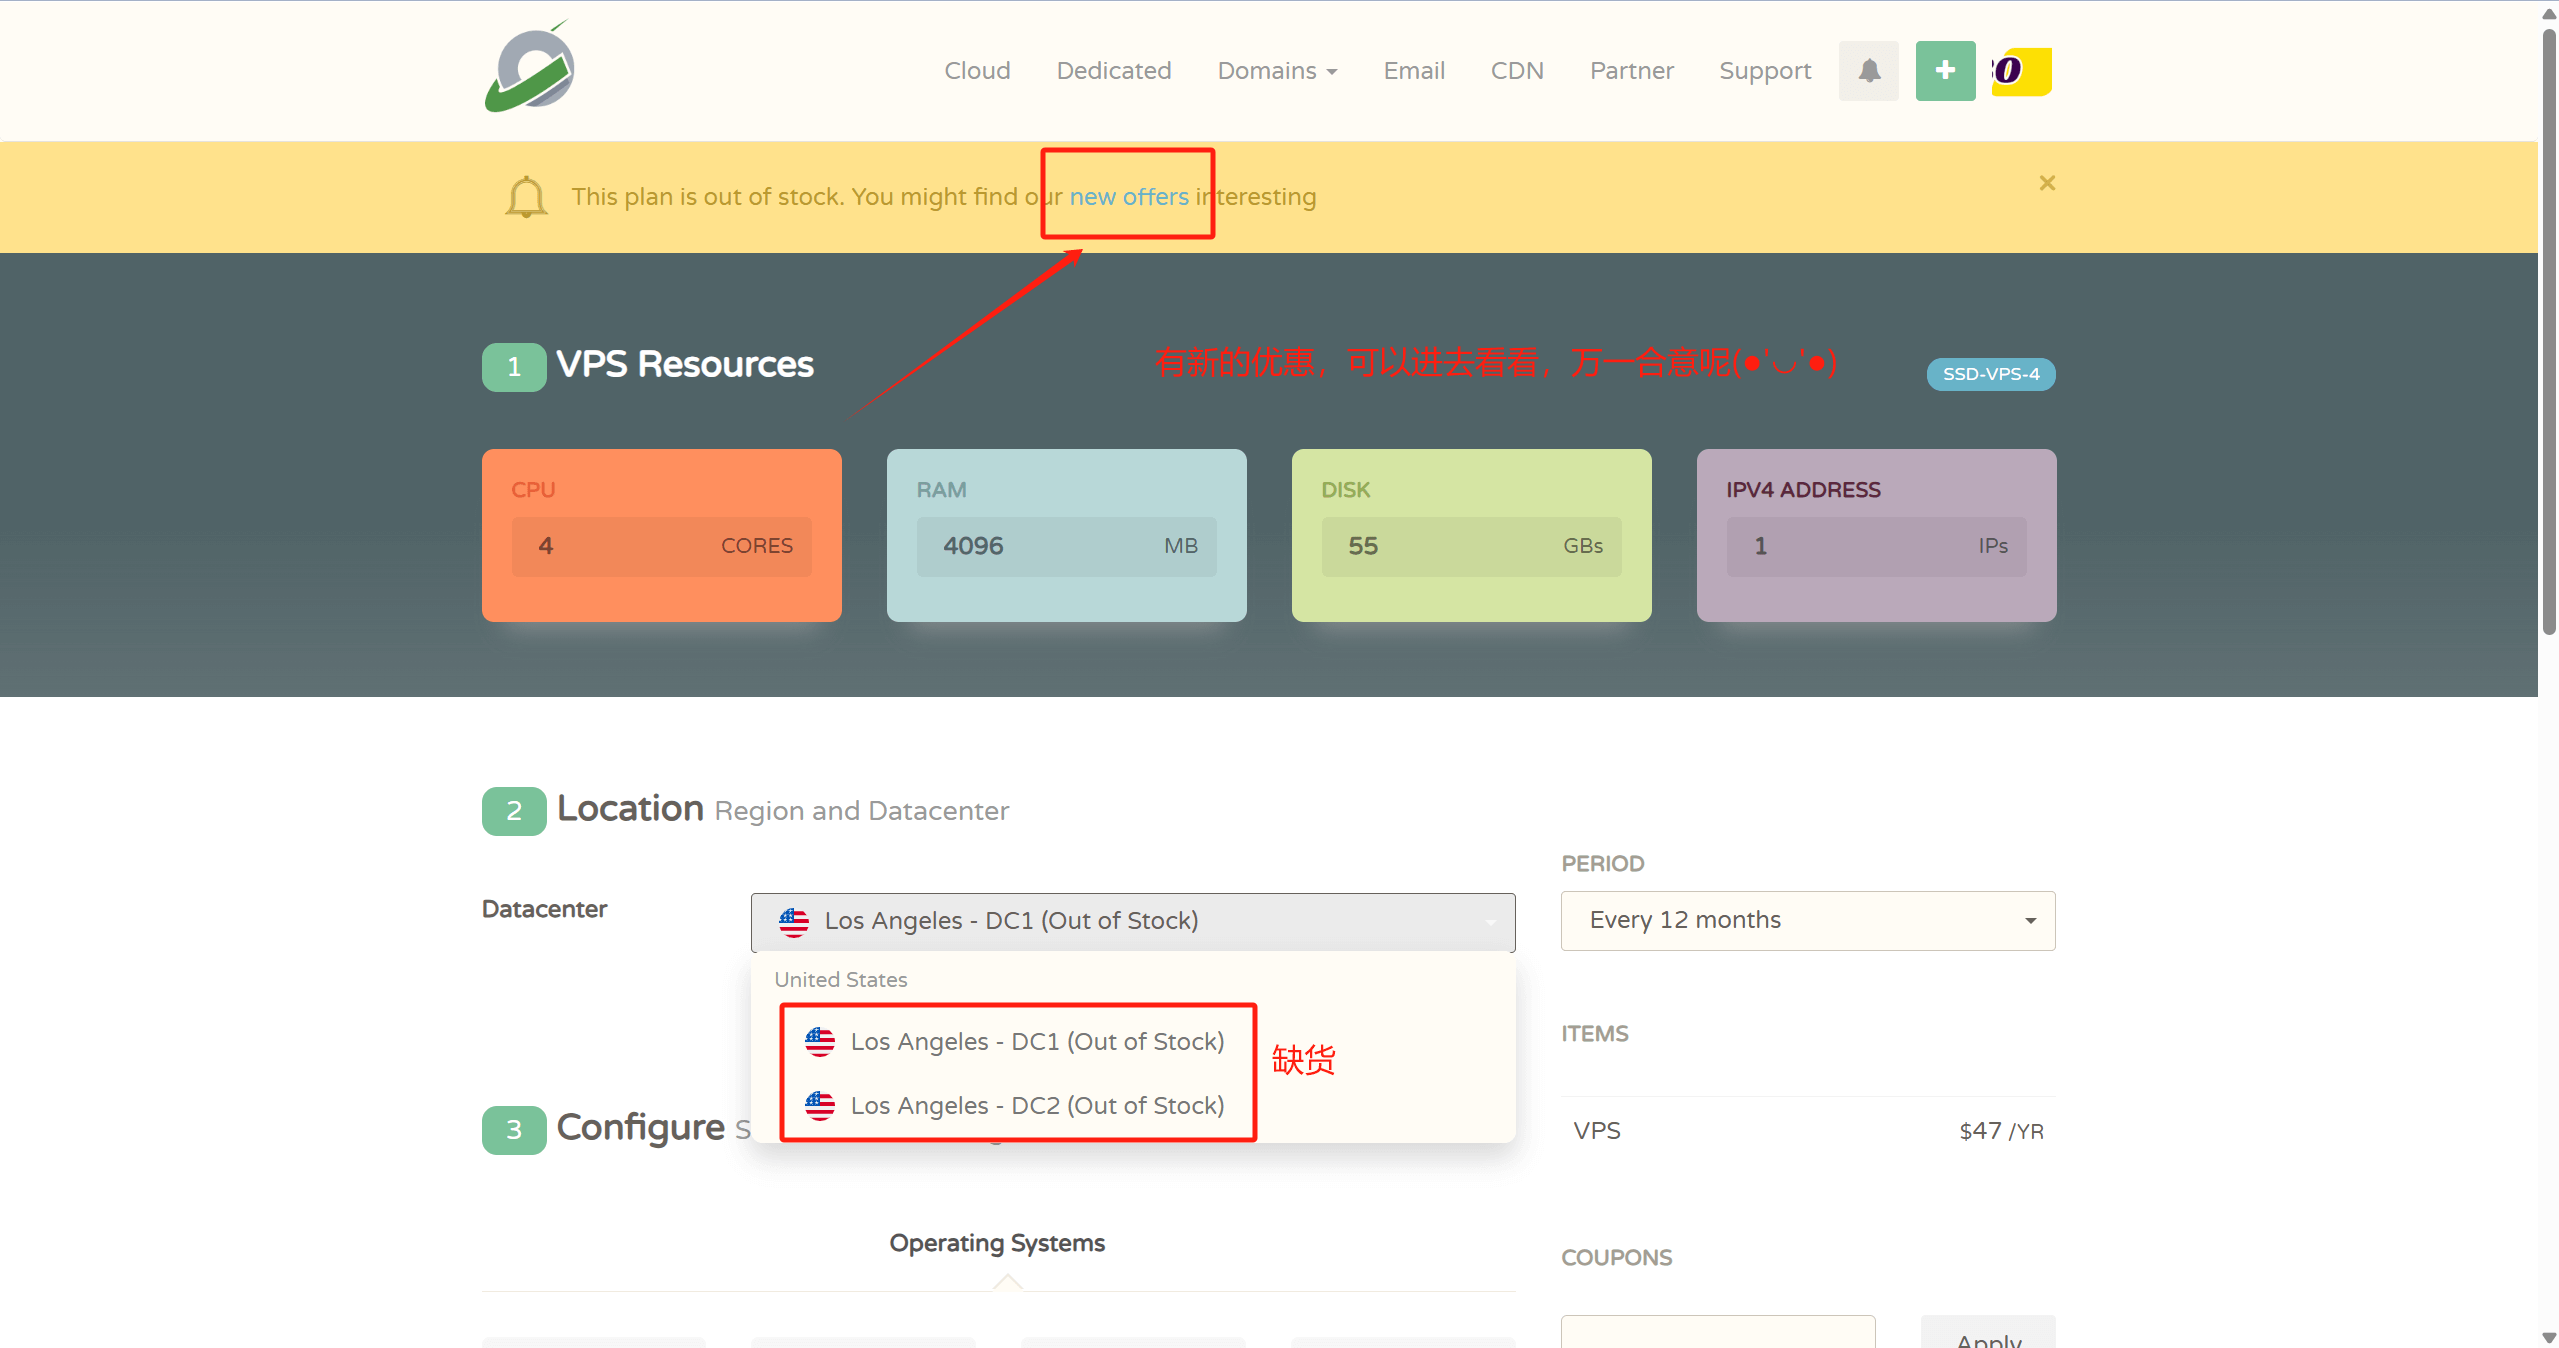
- 👉CloudCone Official Site: www.cloudcone.com👈 (Great value, supports Alipay, uses Intel E5 processors and SSD storage, fully sufficient for running a website.)
Note: If you have a Visa credit card or PayPal, you can also choose Hostinger or Contabo. They offer better value: first, the processors are newer, featuring the recently launched AMD EPYC processors with strong computing power; second, they use NVMe SSD storage for faster read/write speeds; third, after-sales support is quick. The downside is that they require a Visa credit card or PayPal payment, or you can pay someone on Taobao to handle it for you.

- 👉Hostinger Official Site: www.hostinger.com (Enter here for an additional 20% discount) 👈
♥️ Advantages: One of the top 3 cloud server providers globally, its strength speaks for itself. It's astonishing that at this price, you can still get high-performance AMD EPYC processors and faster read/write NVMe SSD storage, making web pages load faster. Overall performance is definitely the best in its price range!
♥️ Disadvantages: Only supports Visa credit card and PayPal payments
♥️ For website building process, refer to this article: Hostinger Website Building Tutorial.
Step 2: Give Your Website a Catchy Name! Namesilo Official Site Registration Tutorial:
✅ Search for your desired domain
✅ Remember to check WHOIS privacy protection when adding to cart
✅ Alipay payment is super convenient!
💻 Part 2: Hands-On Operation (15 minutes)
Step 3: Point Your Domain to Your Server! Cloudflare DNS Setup Full Process:
1️⃣ Add site
2️⃣ Modify nameservers
3️⃣ Create an A record pointing to your VPS IP
💡 Pro tip: Enable free CDN acceleration!
Step 4: Equip Your Toolbox!
🔥 Must-Have Tools List:
- Xshell (SSH connection)
- Baota Panel (Visual operation)
- Performance tuning script code:
curl -sS -O https://raw.githubusercontent.com/kejilion/sh/main/kejilion.sh && chmod +x kejilion.sh && . /kejilion.shStep 5: System Optimization Quadruple Combo!
① System update:
sudo apt-get update && sudo apt-get upgrade -y② Set up swap memory, run the optimization script from Step 4, select 13→12

③ Enable BBR3 acceleration, run the optimization script from Step 4, select 13→16

④ Security protection, install fail2ban, run the optimization script from Step 4, select 13→22

🎯 Part 3: Ultimate Goal of Website Building Tutorial (10 minutes)
Step 6: The Visual Tool Arrives! Install the Baota Panel using the command below, or copy it from the Baota Official Site
wget -O install_panel.sh https://download.bt.cn/install/install_panel.sh && sudo bash install_panel.sh ed8484becAfter installation, remember to save the panel address/username/password!
Step 7: Install WordPress, Import a Theme, Your Website is Complete!
Final sprint! Deploy WordPress in three minutes:
1️⃣ Create a website + database in Baota
2️⃣ Download the WordPress installation package and upload it to the website root directory
3️⃣ Classic 5-minute installation process
💥 Witness the miracle! Your website is born!
🎉 Congratulations, you are now a webmaster! Want to learn next:
✅ Website theme customization
✅ SEO optimization tips
✅ Traffic monetization methods
👉 Like this post to 1000, and I'll arrange it ASAP!
Comments (1)
怎么看vps的IP地址呀?